Create New Dataset
Guidance for Dataset Administrators

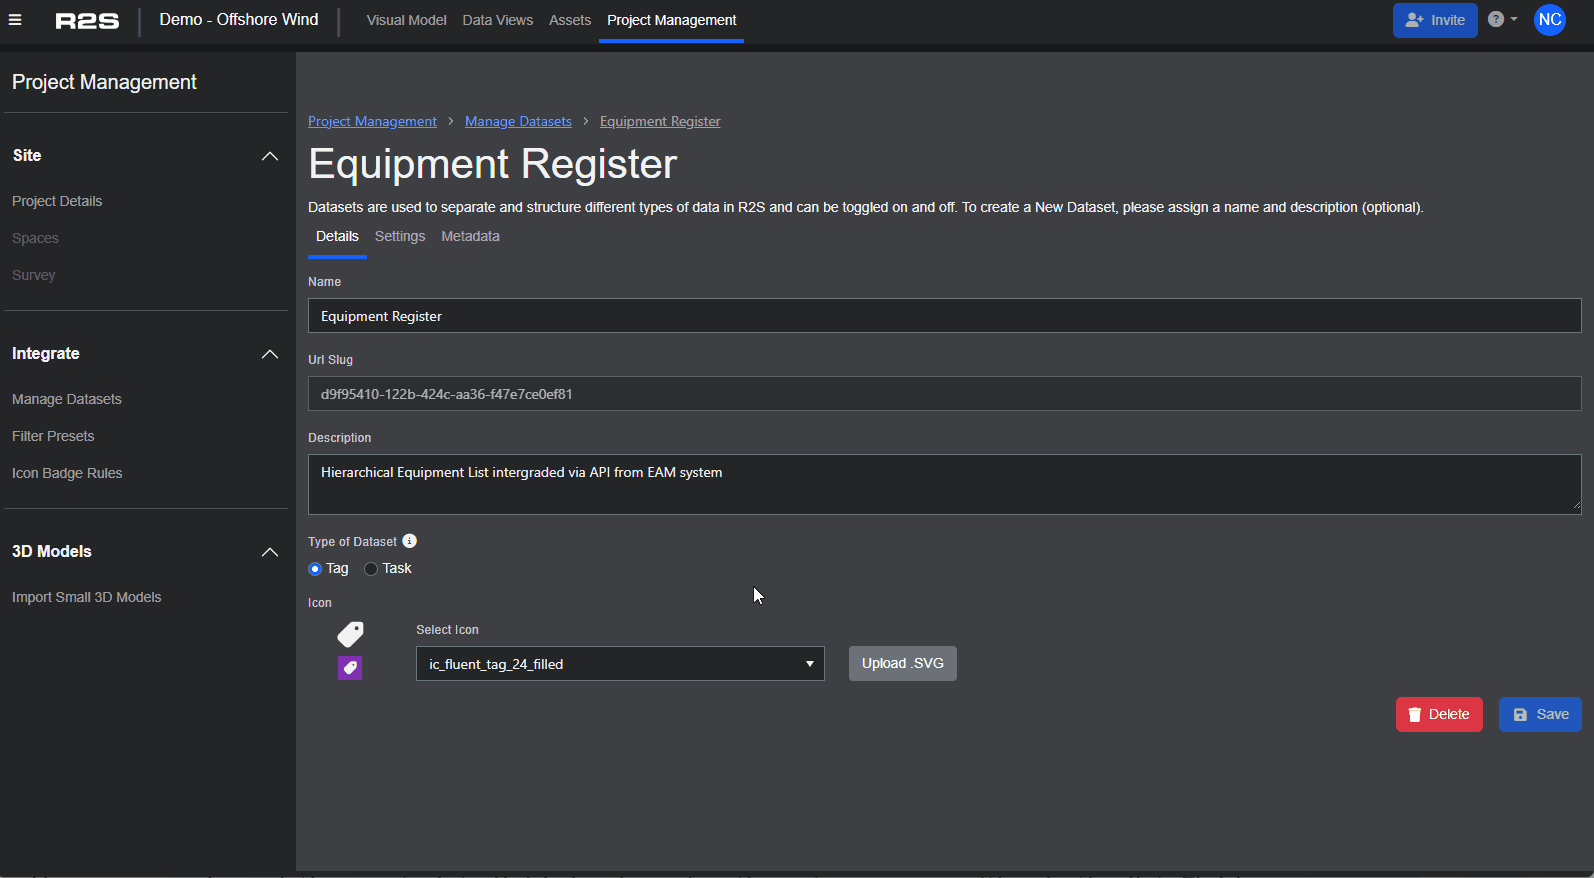
To add new datasets in R2S, you need to have the Dataset Administrator role. First, open the Project Management page and then select Manage Datasets.
Click the '+ New Dataset' button and select 'Create new dataset' to get started.
Details tab
Define the basic information
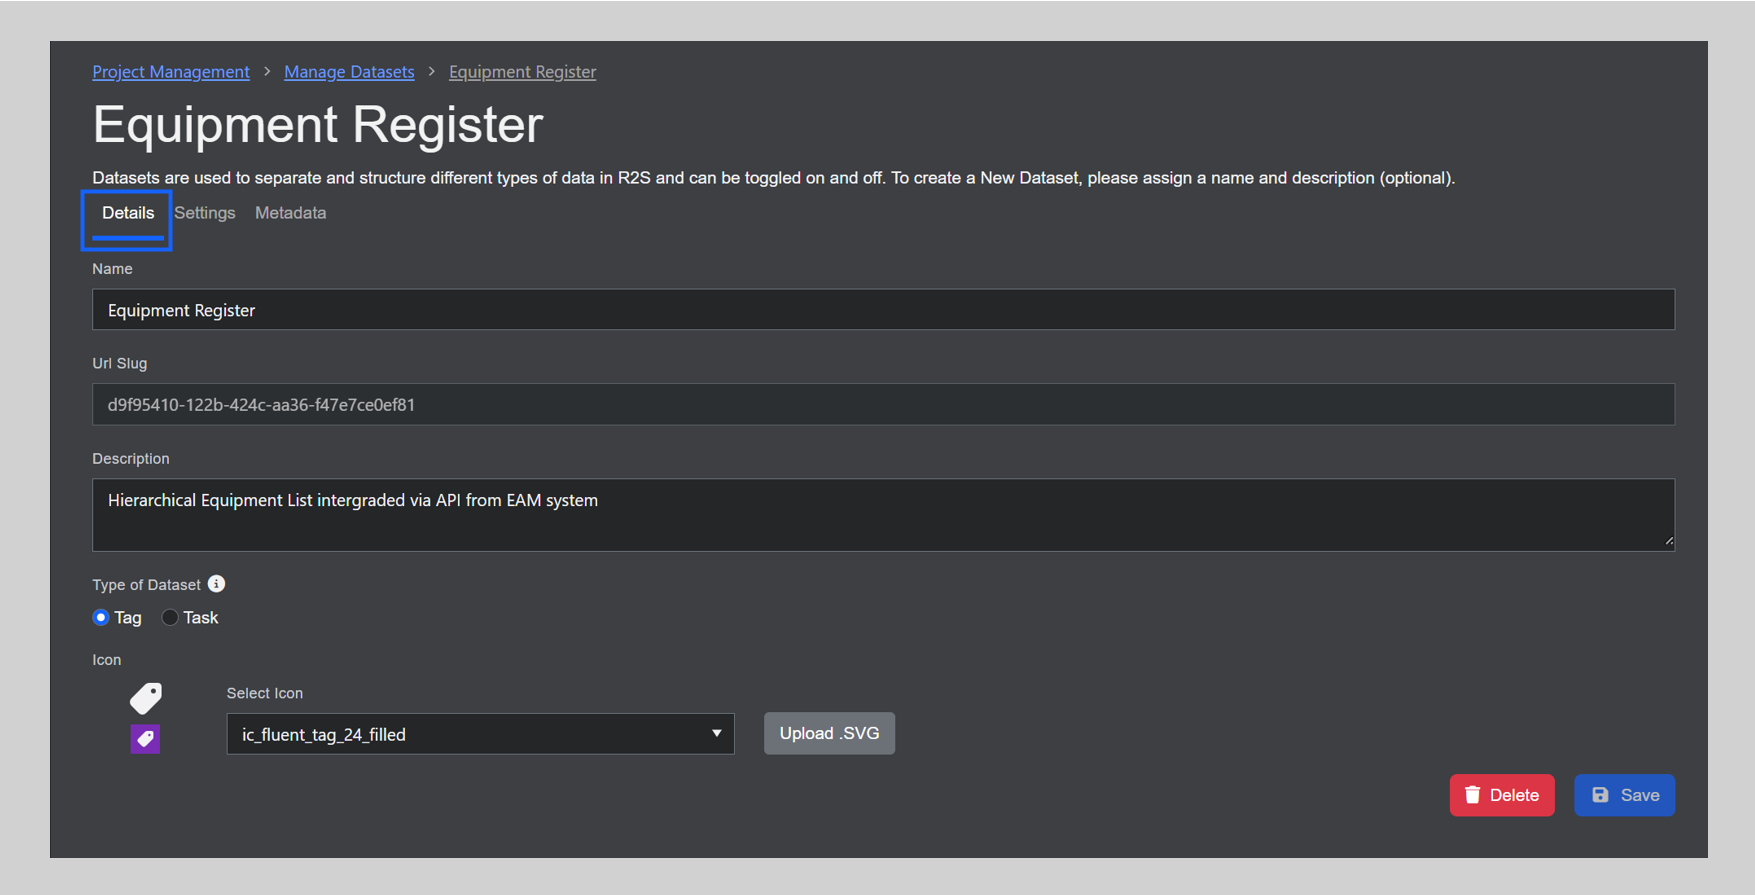
- Choose a name for the Dataset.
- Add a description summarising the dataset’s content and purpose (optional).
- Choose the type of data the Dataset represents. Use 'Tag' for physical items or 'Task' for work related items (this also changes the colour of the tag).
- Select the icon you want to use from the dropdown list or upload your own icon in .SVG format.
- Click 'Save' to create the Dataset.
This is the initial step, and you could stop here if you wish and start adding tags or tasks to the project. However, for a more complete setup, it’s recommended you explore the two new tabs that become available.
Settings Tab
Control how the dataset is viewed and what users can do with it.
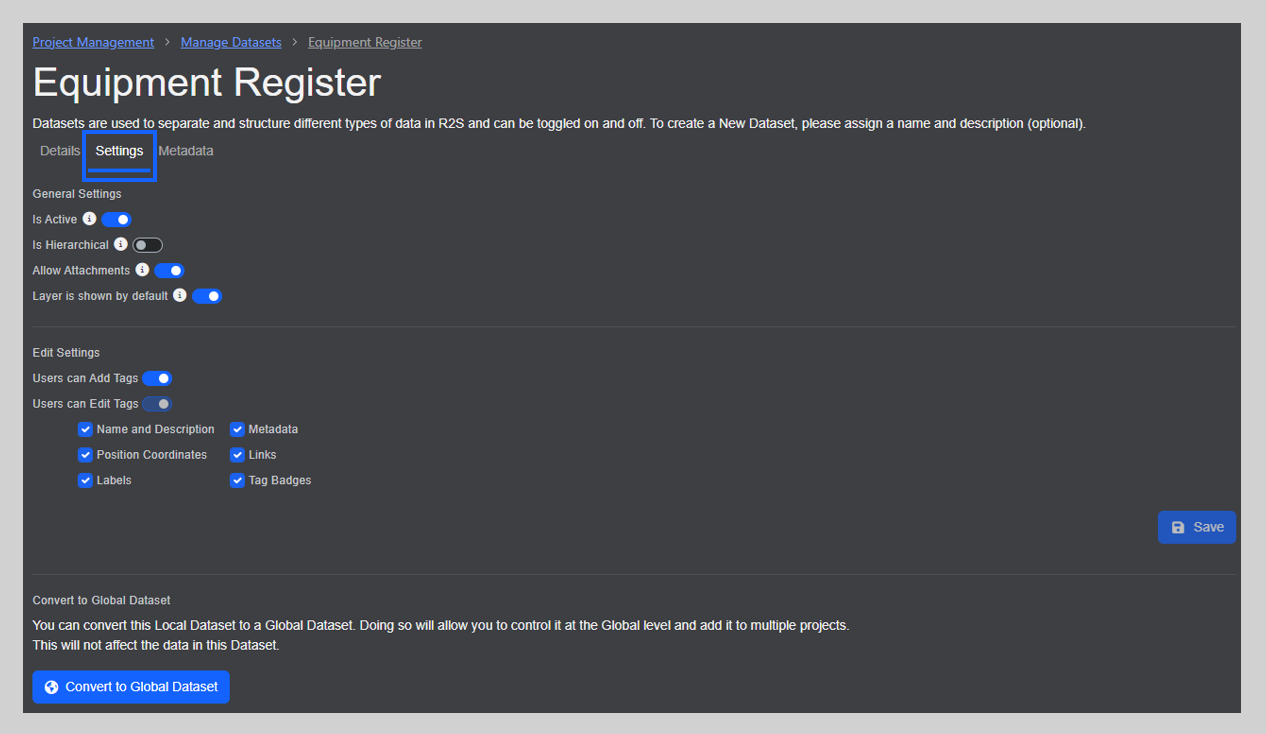
General Settings
- Is Active - when enabled, the dataset and all it's tags will be available in the project to all users.
- Is Hierarchical - enables the ability to view parent and child links, if available.
- Allow Attachments - when enabled, users will be able to upload and download attachments to individual tags and tasks.
- Layer is shown by default - when enabled, the Dataset will be shown as a layer to all users (this can be adjusted using the Layers Panel). If this is disabled, the Dataset will be hidden from view, however, items in the Dataset will still be searchable.
Edit Settings
- User can add tags - if this is toggled on, new tags can be added to the Dataset. If this is off then the dataset is effectively locked, useful for maintaining verified information such as equipment tags.
- Users can edit tags - When toggled on, users can only change the attributes that are ticked. This gives Administrators control over the Dataset, if required.
Convert to Global Dataset
Clicking this button allows you to change the Dataset's type. Please note that this is a one way process and the cannot be reversed.
See Global Datasets for further detailed information.
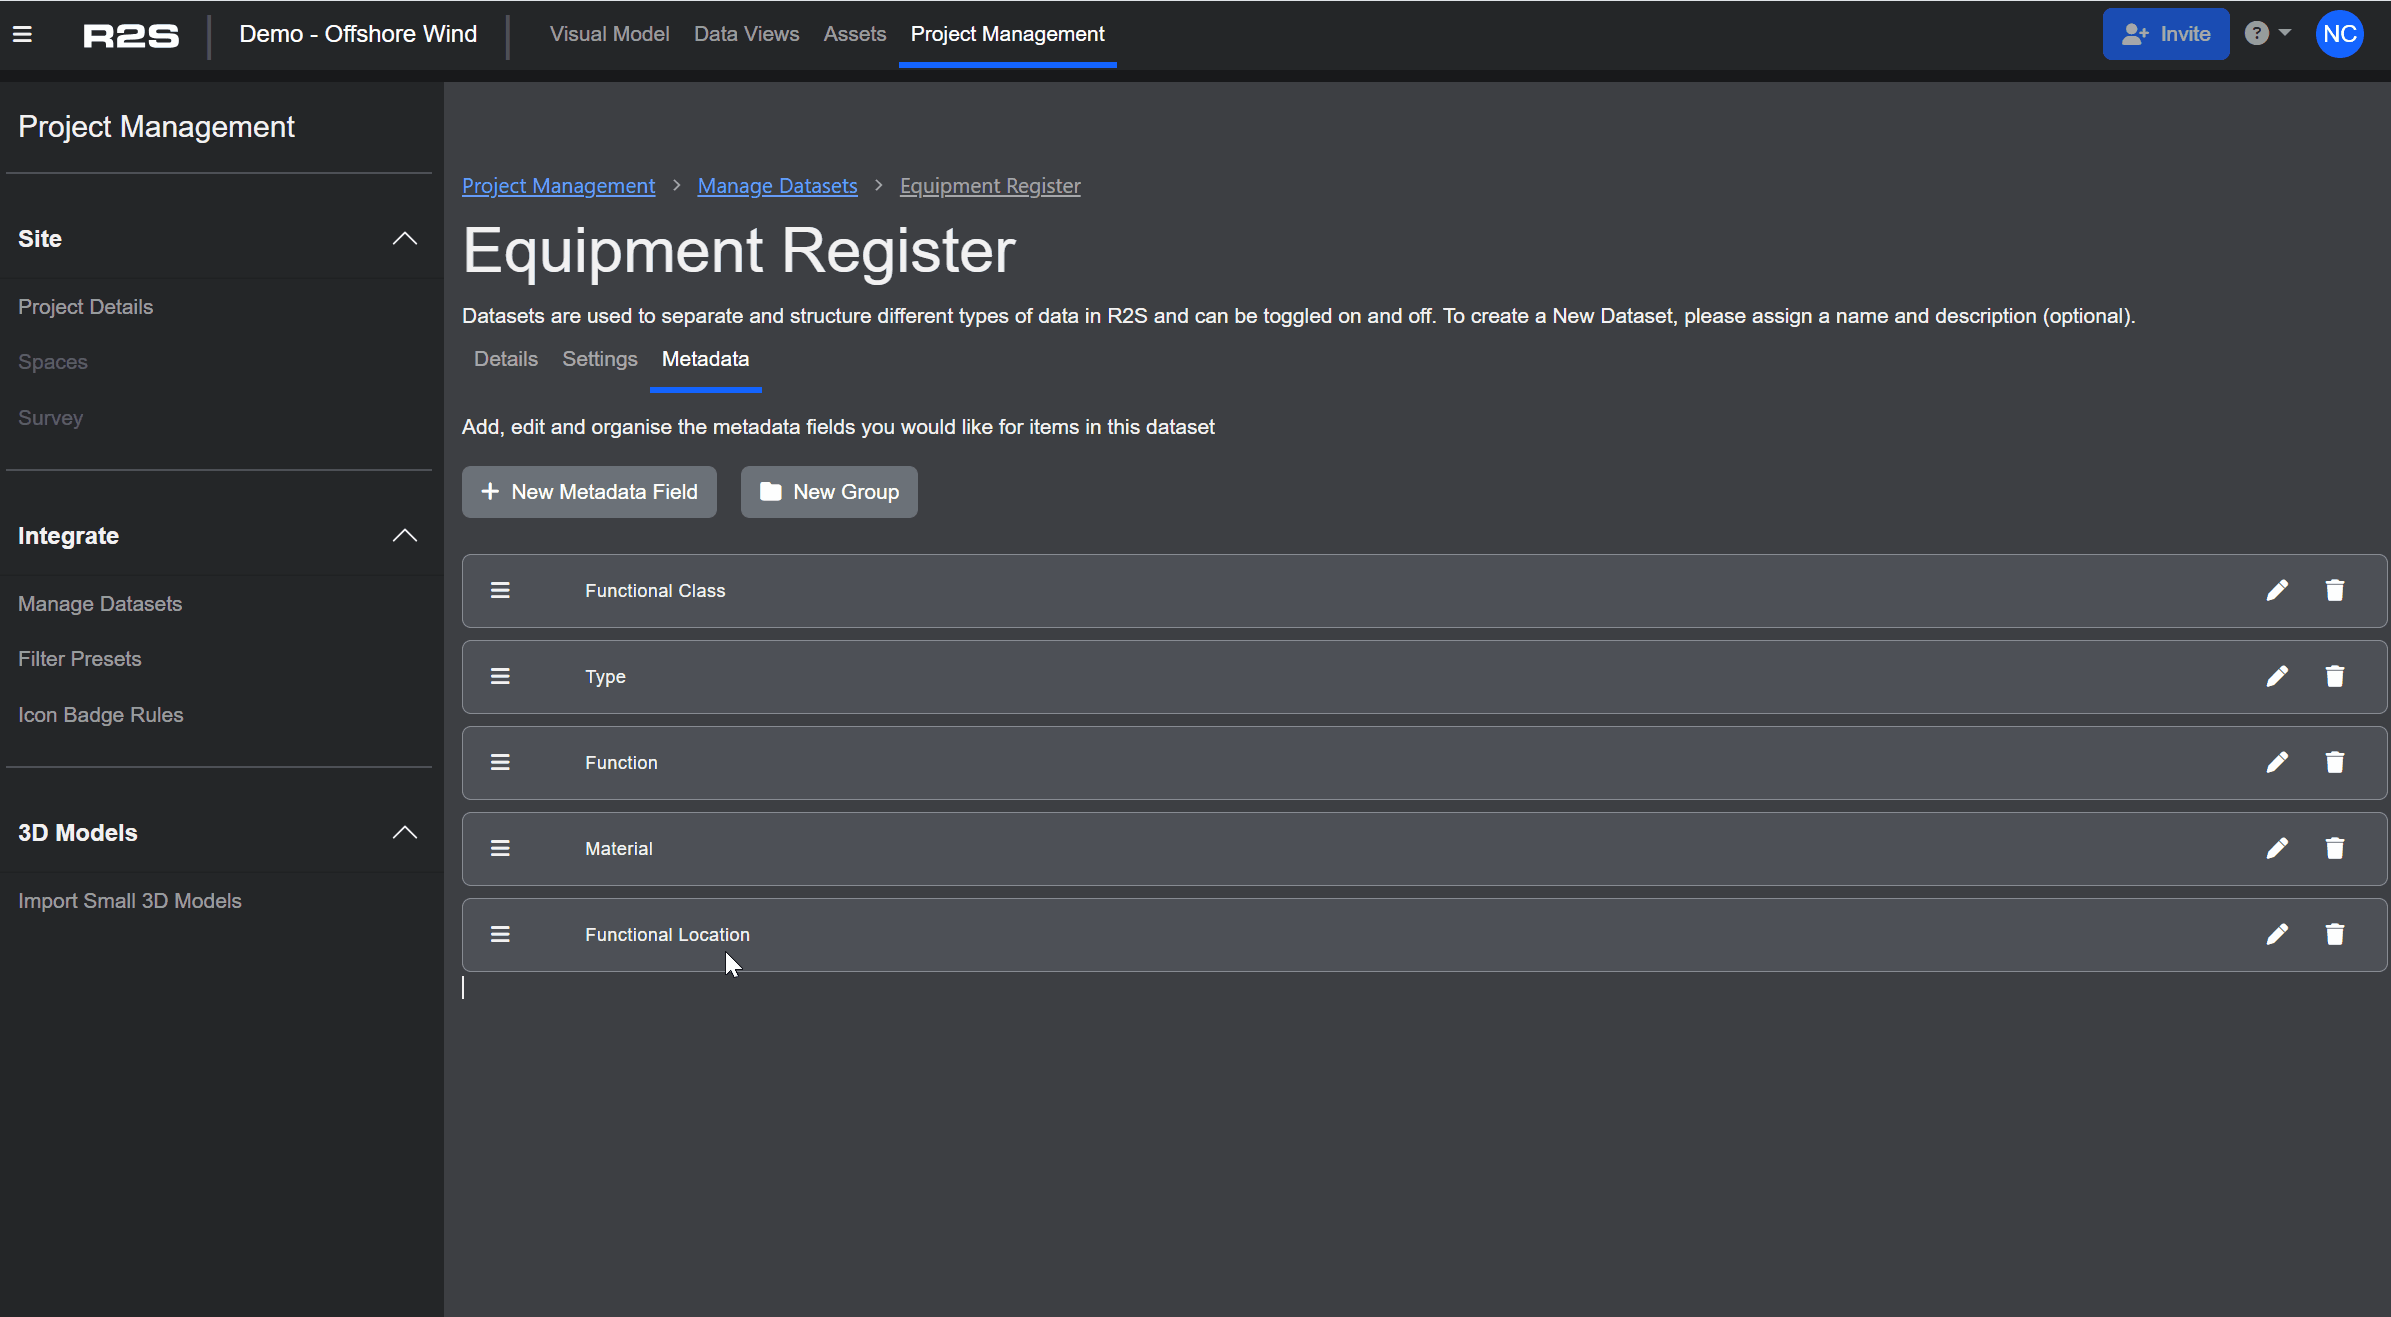
Metadata Tab
This is where you set up the metadata fields for your Dataset. Once configured, every tag you add will include these fields, making each tag more informative and enabling more precise searching and filtering. Each metadata field can represent a specific type of information such as text, lists, dates or hyperlinks.
Simply click the '+ New Metadata Field' button, choose a name for the field and then the select the type of data you want that field to contain from the dropdown list. You can add as many metadata fields as required.
You can reorder existing metadata fields by dragging them to a new position in the list. Fields can also be grouped to enhance structure. The groups and order you define here determine how they appear in the Tag Panel.
Have a look through this interactive guide to learn how to set-up metadata fields for a Dataset designed to support shutdown planning.
This short video demonstrates adding a tag using the new data set, including completing metadata fields.
Follow these links to discover alternative ways to add Datasets to your project.
Now you've added a Dataset, learn how to add Tags and Tasks.
Note: If you are having trouble using any tool or feature in R2S please contact our support team here.