Distance Measurement
Guide for measuring distances in different View Modes

Please see the Measurement Overview page for more general information on taking measurements in R2S.
To view other forms of measurement, please visit our pages on:
Area Measurement
Point Measurement
To start your distance measurement in any View Mode, open the Measurement Panel.
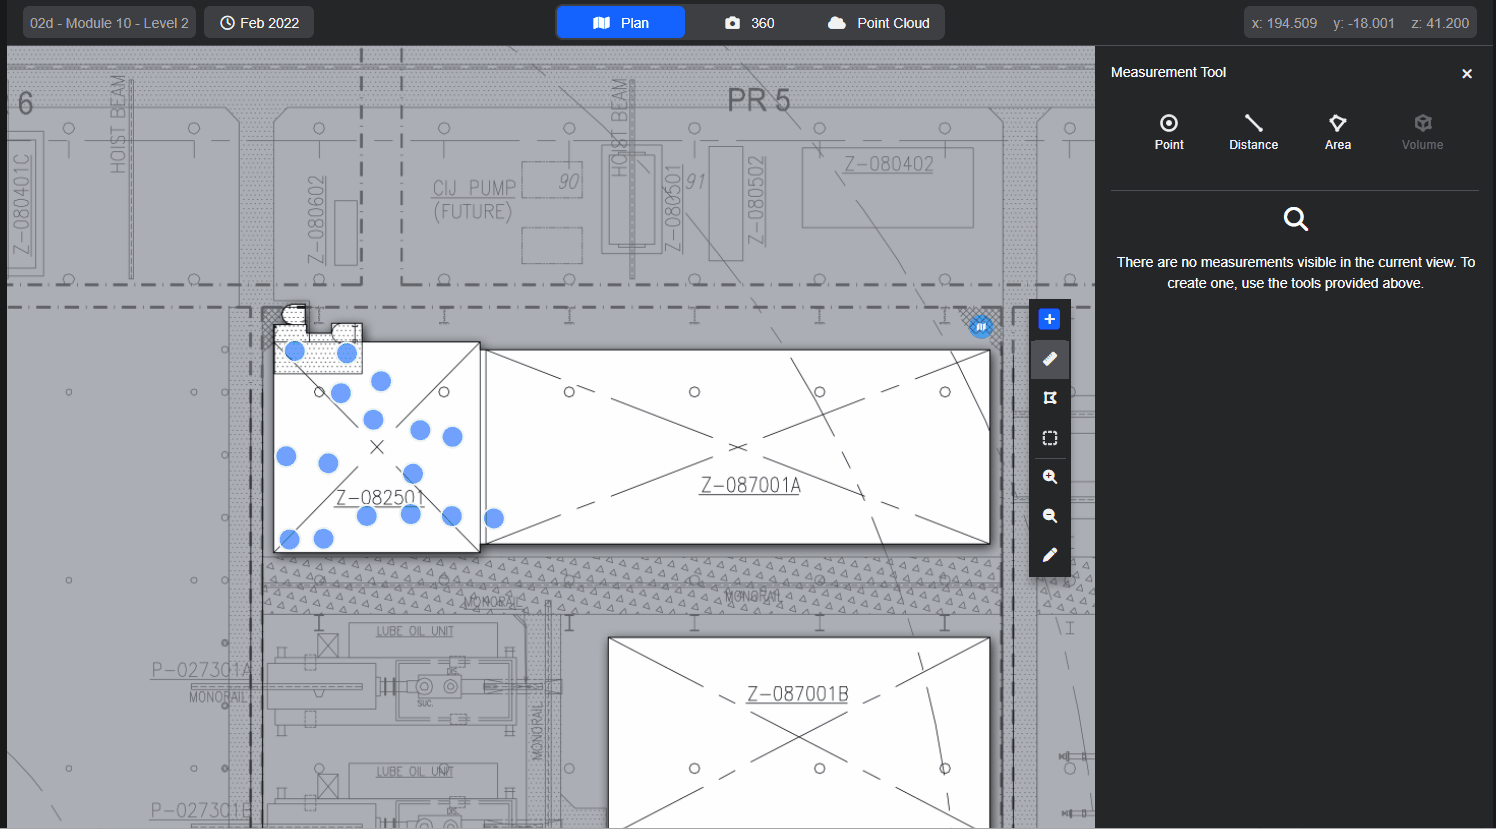
Plan View
- Select the Distance option from the Measurement Panel.
- Click on the plan to start the measurement, a green line will extend from the first point.
- Click a 2nd point to complete the measurement. The distance is shown on the line.
- Update the name and description (optional).
- Choose a tag to link the measurement to (optional).
- Click ‘Save’.
R2S 360 View
You'll know if you're in an R2S 360 if the upper/lower image toggle is visible. See Navigation for further information.
- Select the Distance option from the Measurement Panel.
- Click to define the start and end points of the measurement.
- The viewer will then split to show another perspective (the upper image).
- Select the same two points in the upper image.
- Use the lower image to help guide you in picking the same points.
- The camera will automatically adjust to help you (this is called 'Measure Assist').
- Once complete, the view will return to normal and the distance will be shown on the line and in the measurement panel.
- Update the name and description (optional).
- Choose a tag to link the measurement to (optional).
- Click ‘Save’.

Have a look at this interactive guide that takes you through the process, step-by-step.
Point Cloud Enabled 360 View
You'll know if you're in a Point Cloud enabled 360 beacaue the Point Cloud Mode button will be available.
- Select the Distance option from the Measurement Panel.
- A small point cloud window will appear with a green cube displayed within it.
- Use the green cube to define the points of the measurement.
- Update the name and description (optional).
- Choose a tag to link the measurement to (optional).
- Click 'Save'.

Point Cloud View
- Select the Distance option from the Measurement Panel.
- A small point cloud window will appear with a green cube displayed within it.
- Use the green cube to define the points of the measurement.
- Update the name and description (optional).
- Choose a tag to link the measurement to (optional).
- Click 'Save'.

Saving, Editing and Searching
Once you've completed and saved your distance measurement, you can easily edit or locate it again using the search features. See Measurement Overview for further information.
Note: If you are having trouble using any tool or feature in R2S please contact our support team here.