Navigation
Basic Navigation in R2S

Finding your way around in R2S is easy. Here's everything you need to know about navigating in the different View Modes. While looking around in R2S, if you need to get back to the project title screen, simply press the Home button.
360 Mode
At the heart of R2S, the 360° images provide a rich, detailed view of the site. They are intuitive to explore, making it easy to understand spatial layouts and navigate naturally.
Navigation tips:
- Look Around: Click and hold the left mouse button to pan the view.
- Zoom In/Out: Use the scroll wheel or the zoom buttons on the toolbar.
- Move Between Hotspots: Click on any visible hotspot to jump to that location.
- Go Back: Use your browser’s Back button to return to the previous view.

The icon displays the type of image that is available.
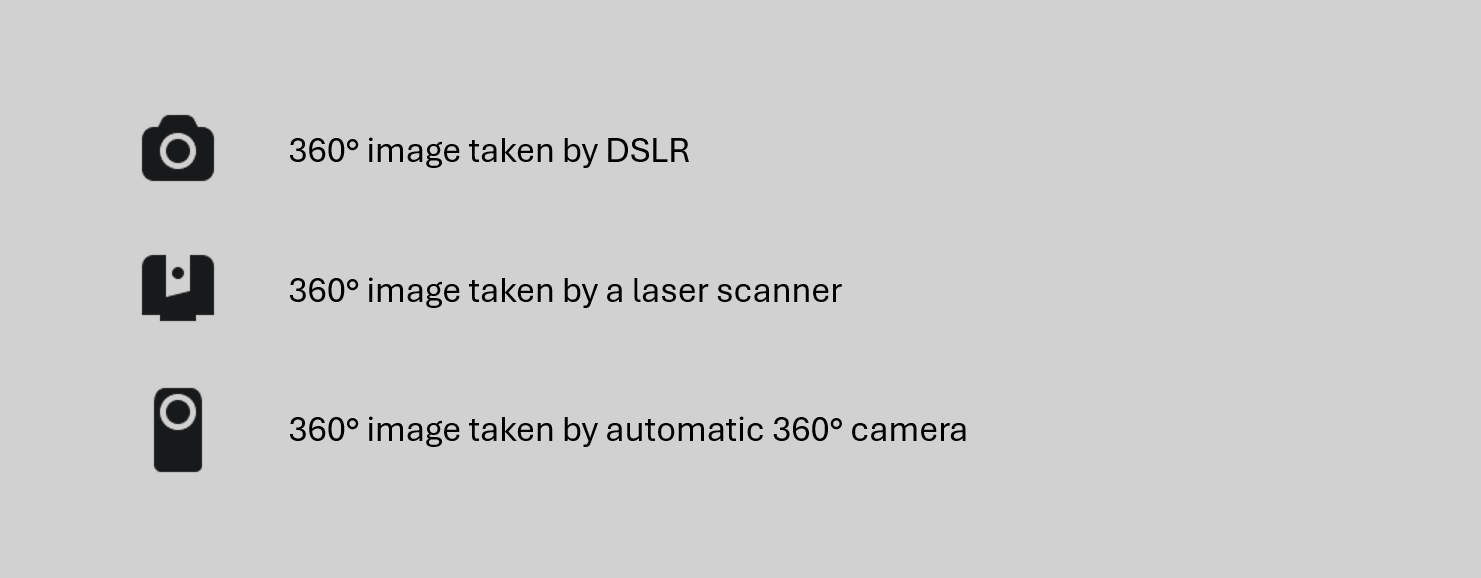
Hovering the mouse over any hotspot will display a tooltip with the image type, date of capture and name.

View Range Settings

The number of hotspots shown in the viewer is determined by the Hotspot Range Filtering settings. These can be adjusted to see images that are further away (such as on the level above) or to clean up your view if there are too many hotspots on display.
Upper/Lower Image Toggle
If this option is available on the toolbar, it indicates two images were taken at that location, one directly above the other. Use this toggle to swap between the upper and lower images. This alternative viewpoint is particularly useful when exploring congested areas.
Point Cloud Mode
You can navigate point to point just like the 360 mode by clicking on the available hotspots shown in the viewer.
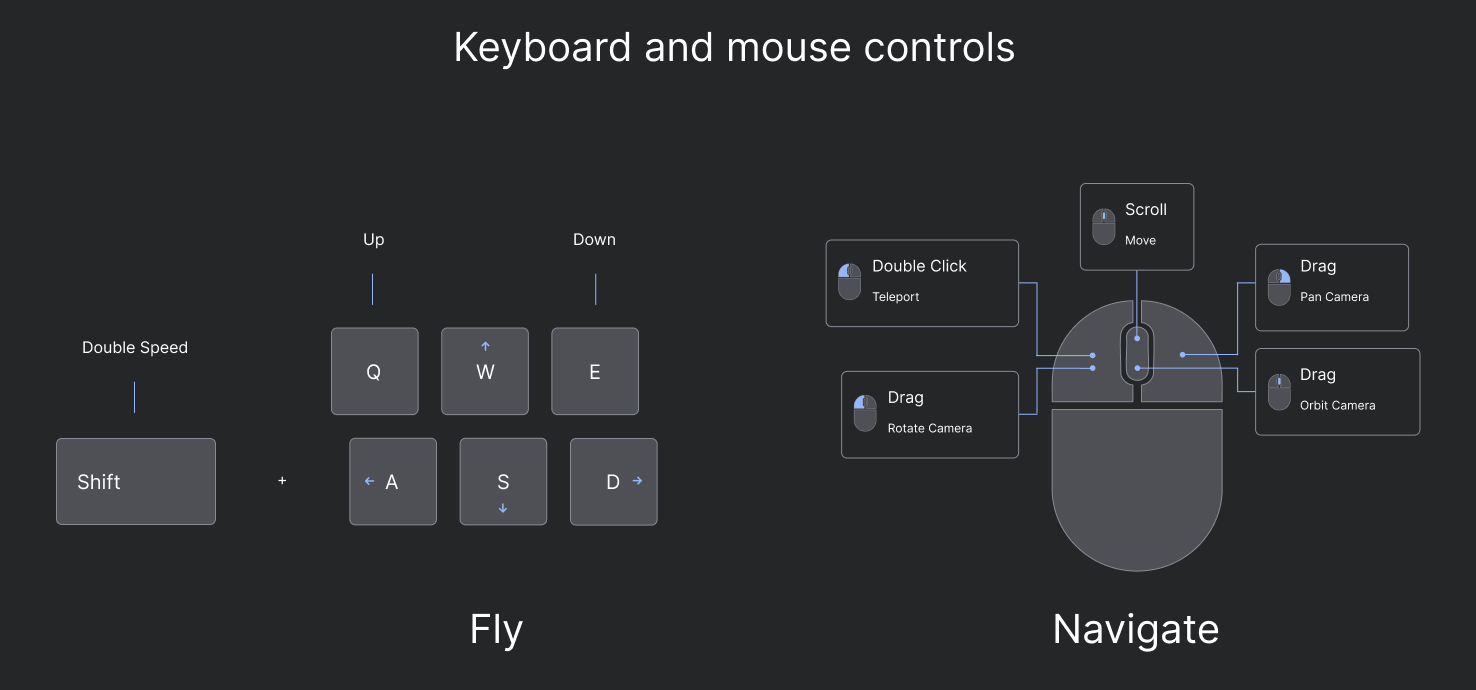
Alternatively, you can use the keyboard or mouse to freely move around in 3D.
When freely navigating like this, if you go back into 360 view mode, the nearest 360 image is selected.
Please note: you can adjust the Point Cloud Settings to change detail levels and optimise performance.
3D Mode
This view mode is only available when the feature has been enabled. For more information, please contact us or refer to this article. If 3D mode is enabled, please see the 3D Model Viewer guide for further information.
Plan Mode
When in this view mode, you can zoom in and out and click and drag anywhere on the plan to move it around. If you select any of the blue hotspots, the view mode will automatically change to 360 Mode and the corresponding 360 image will open.
Plan Info Pane
When viewing a plan, the information pane shows you which plan your currently on and the coordinates of the pointer.

Use the Info Pane to easily navigate up and down levels and change to any alternative plans types that are available.

Plans Panel
You can also navigate the plans in the project using the Plans button on the Side Panel. This opens a list of all the available plans, ordered by elevation (highest at the top to lowest at the bottom). The plan you are on is highlighted. Simply click any plan in the list to move to a new one.

Mini Map
In 360 and Point Cloud modes, a Mini Map is shown in the viewer window. It can be resized or hidden, if required. As with the Plan Mode, you can zoom and move around the plan by clicking and dragging. Click any of the blue hotspots to move to that 360 image. The Mini Map also features a Field of View (FOV) indicator (3) that shows the direction you're facing.
.png)
Please note: the orientation of your view switches to 'platform north' when navigating from the Plan.
Looking for something?
You can also navigate the project by searching for specific items—whether it's a task, a piece of equipment, annotation or even a particular location. The tools that make this possible are explained in the Searching section.
Now you know how to navigate in R2S, why not learn how to take measurements?
Remember, if you are having trouble using any tool or feature in R2S please contact our support team here.