3D Markup Tool
Learn how to annotate plans, images and point clouds with 3D objects.

3D markups have dimensions and 3D coordinates so that they can be viewed from multiple angles and easily maniplulated in the viewer.
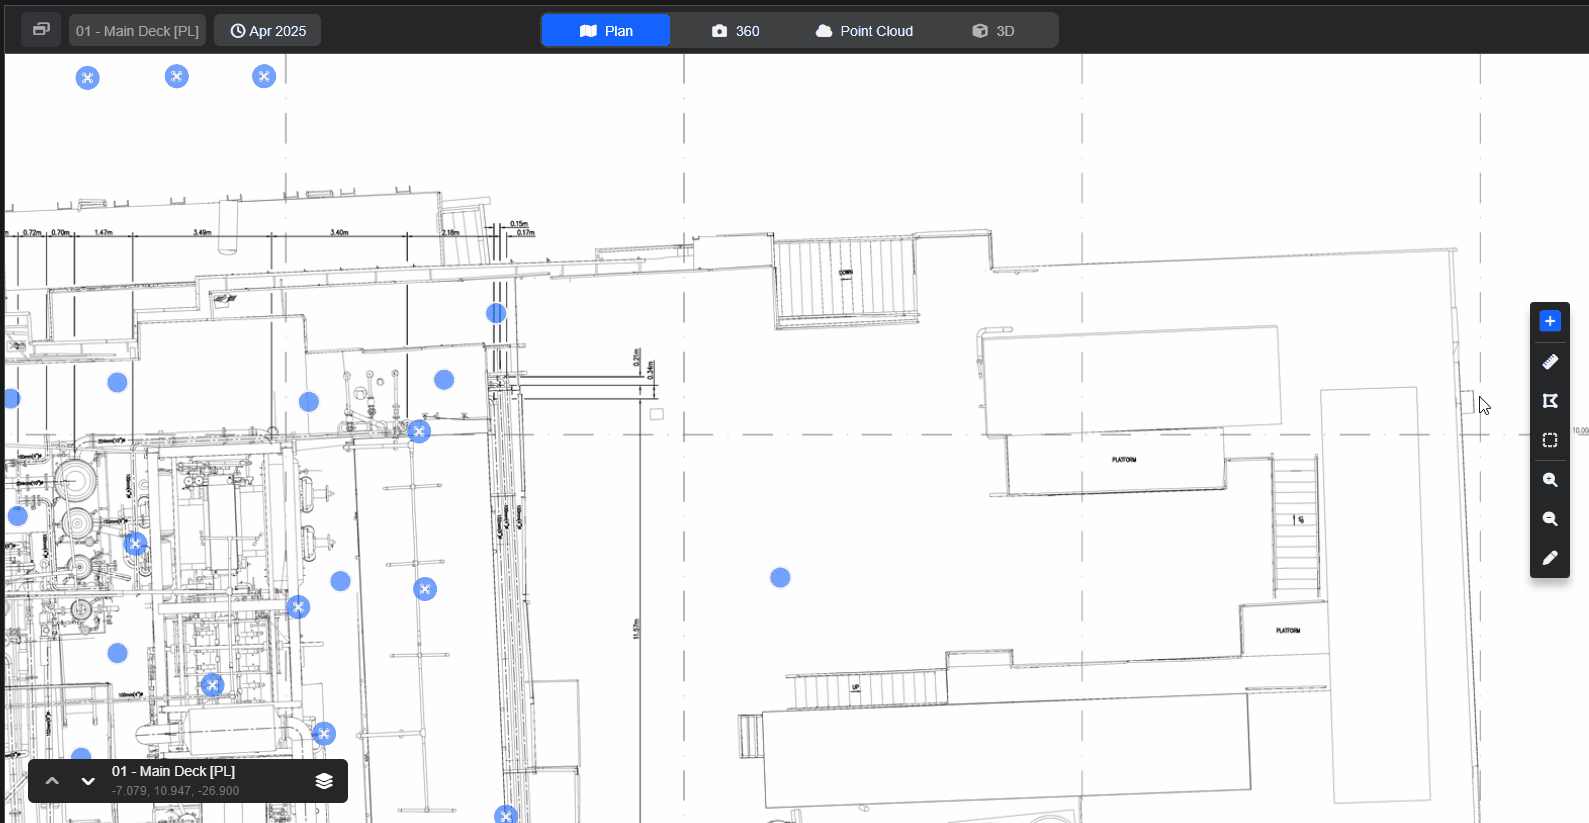
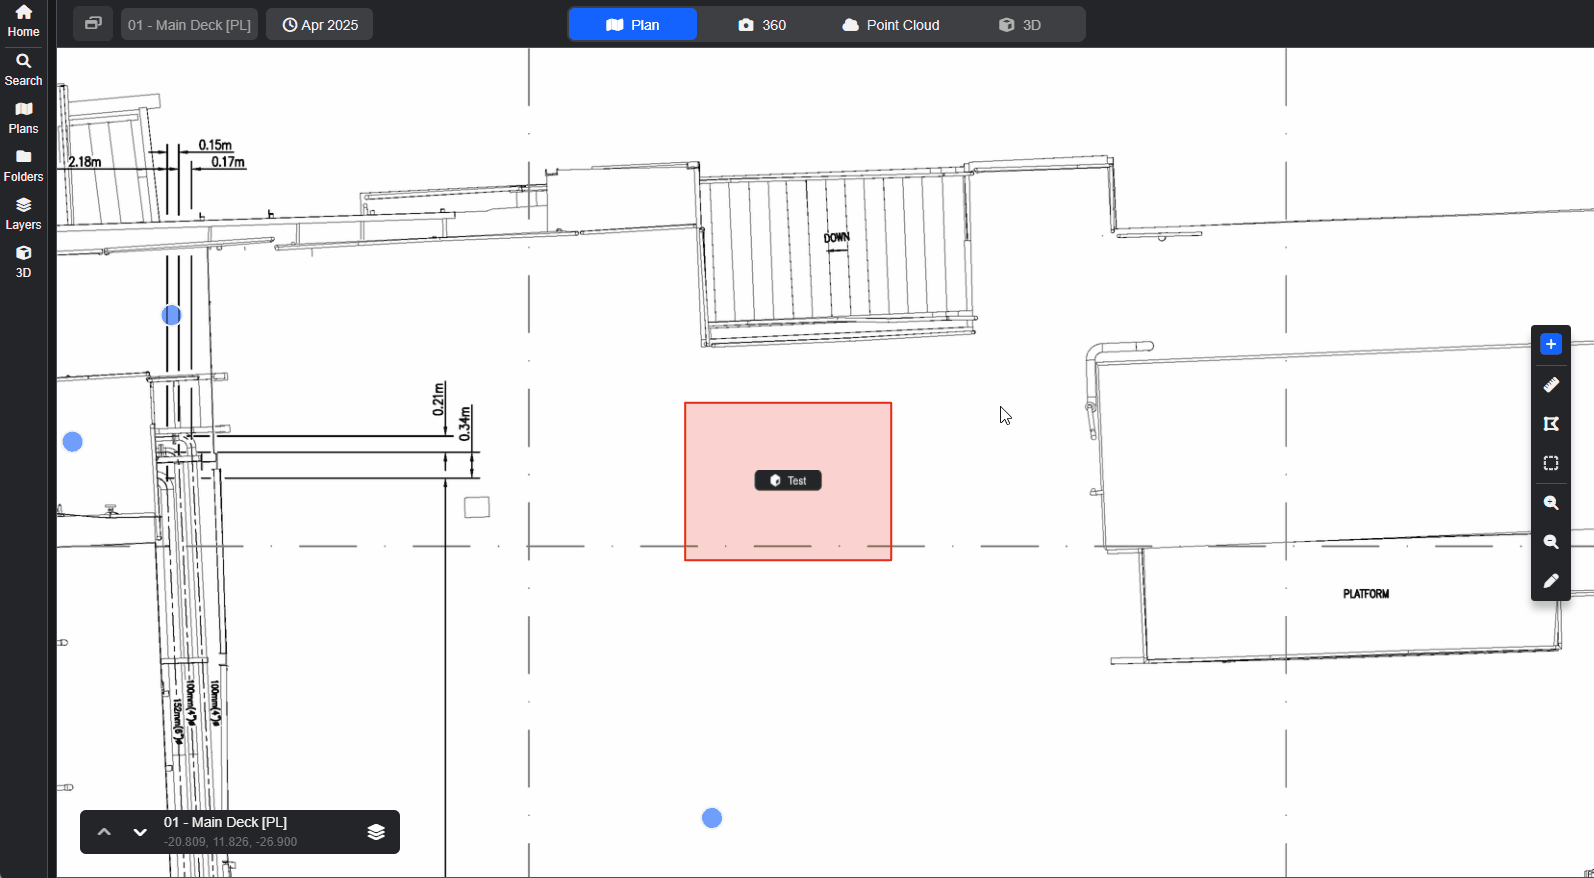
Adding 3D markup in Plan Mode.
- Select the Markup tool from the toolbar to open the Markup Panel.
- Select '3D - Cube'.
- Click on the plan to start the markup.
- Define the width and length by dragging the orange square to the desired size. Click to confirm.
- Add the required height and press return or the tab key.
- If required, adjust the rotation.
- Select a colour.
- Choose it's visibilty setting from Private or Public.
- Add a name (required).
- Click Save.
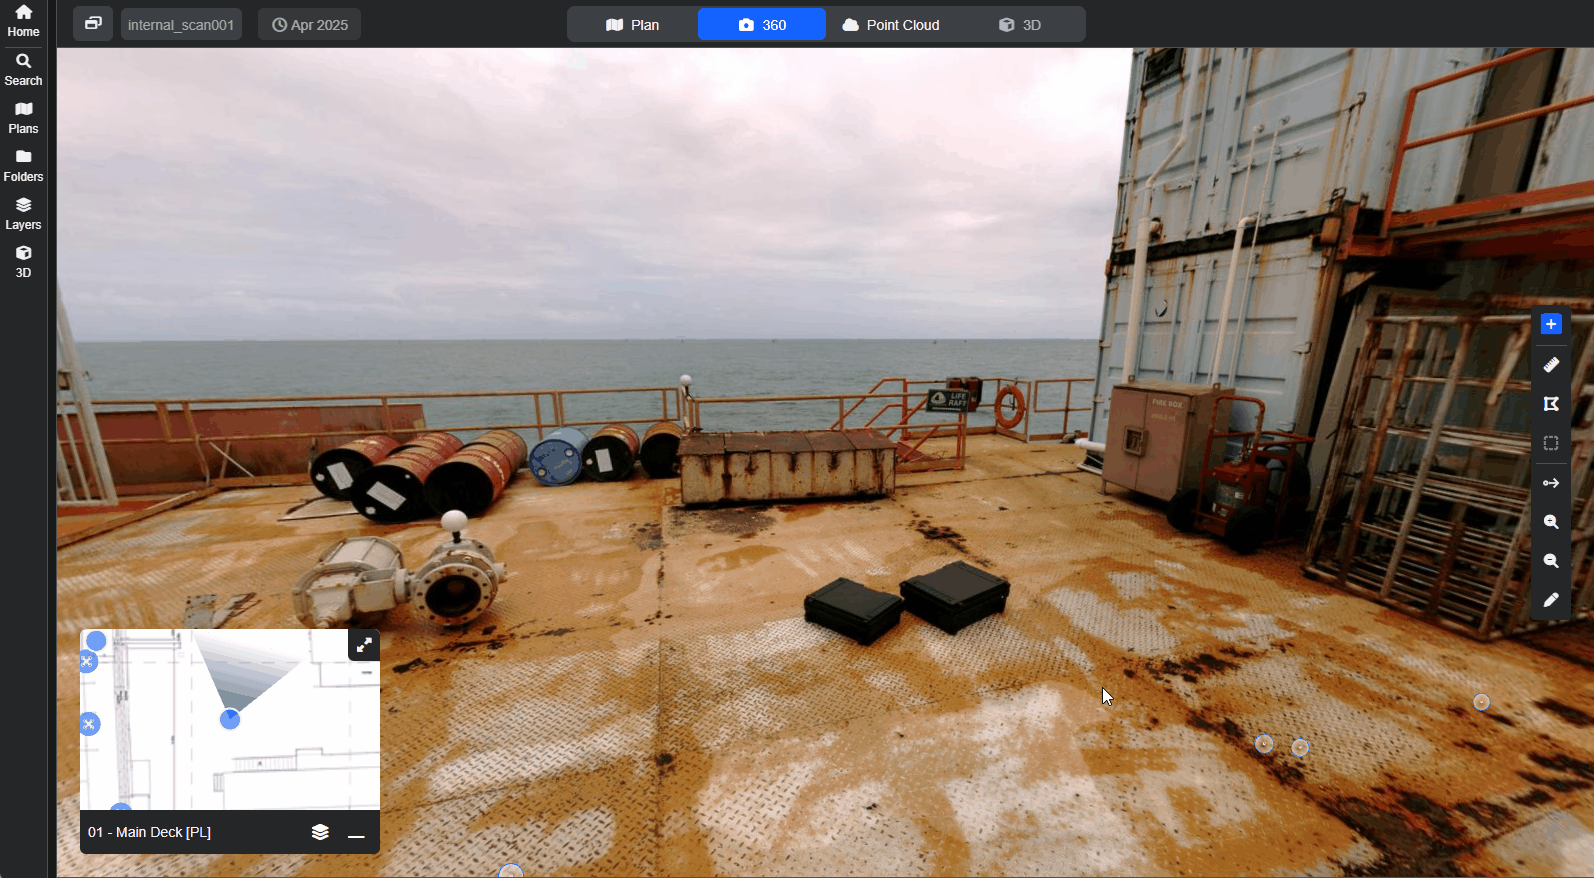
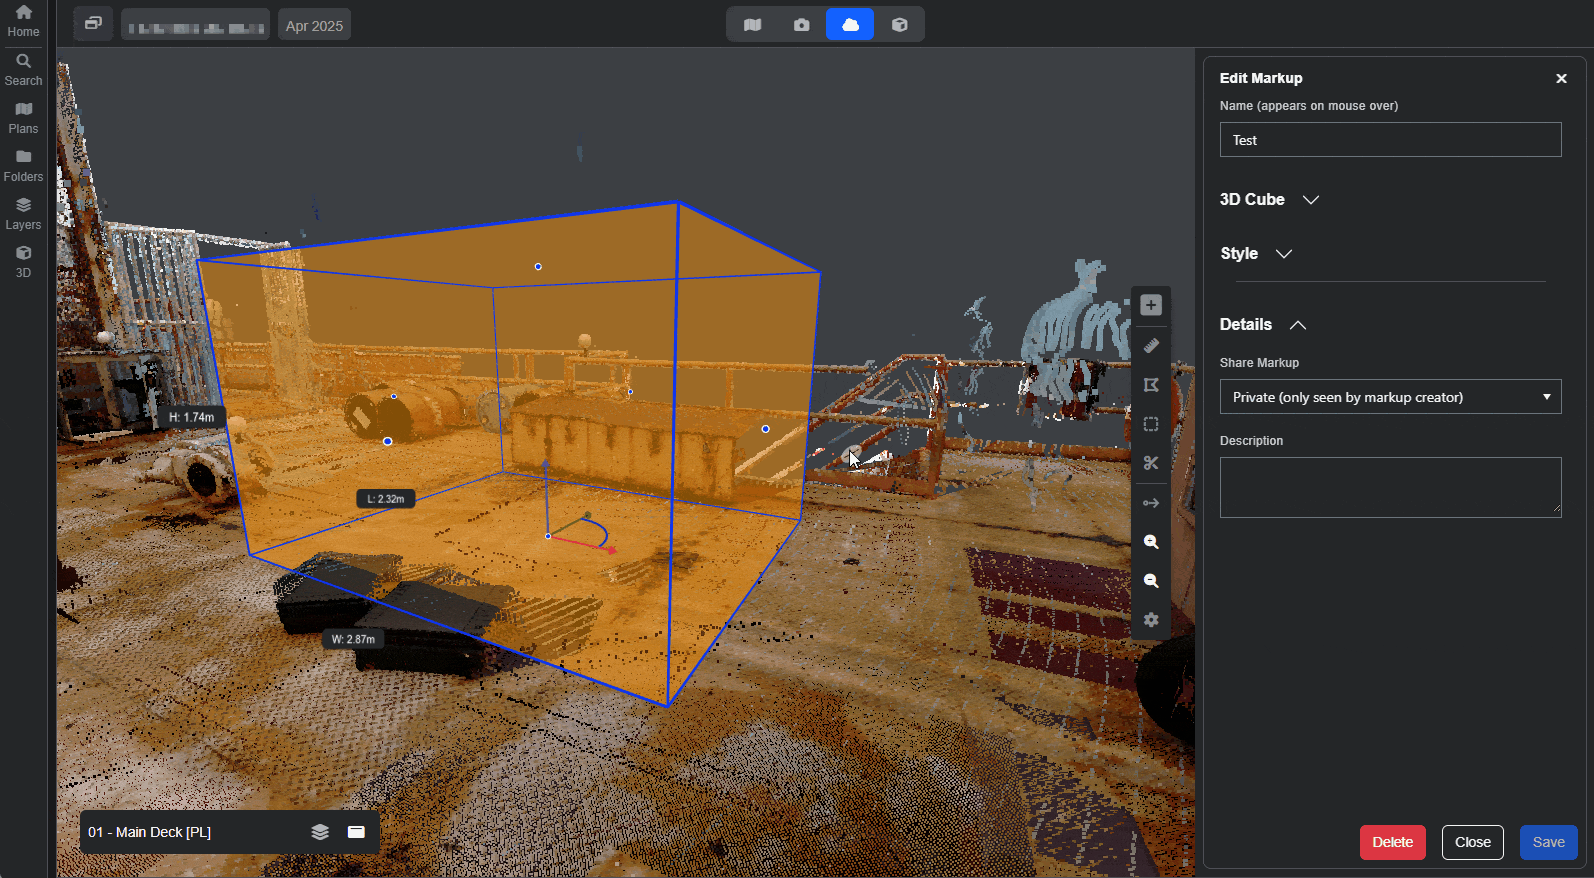
Once the 3D markup has been saved, it will be visible in both the 360 and point cloud views.
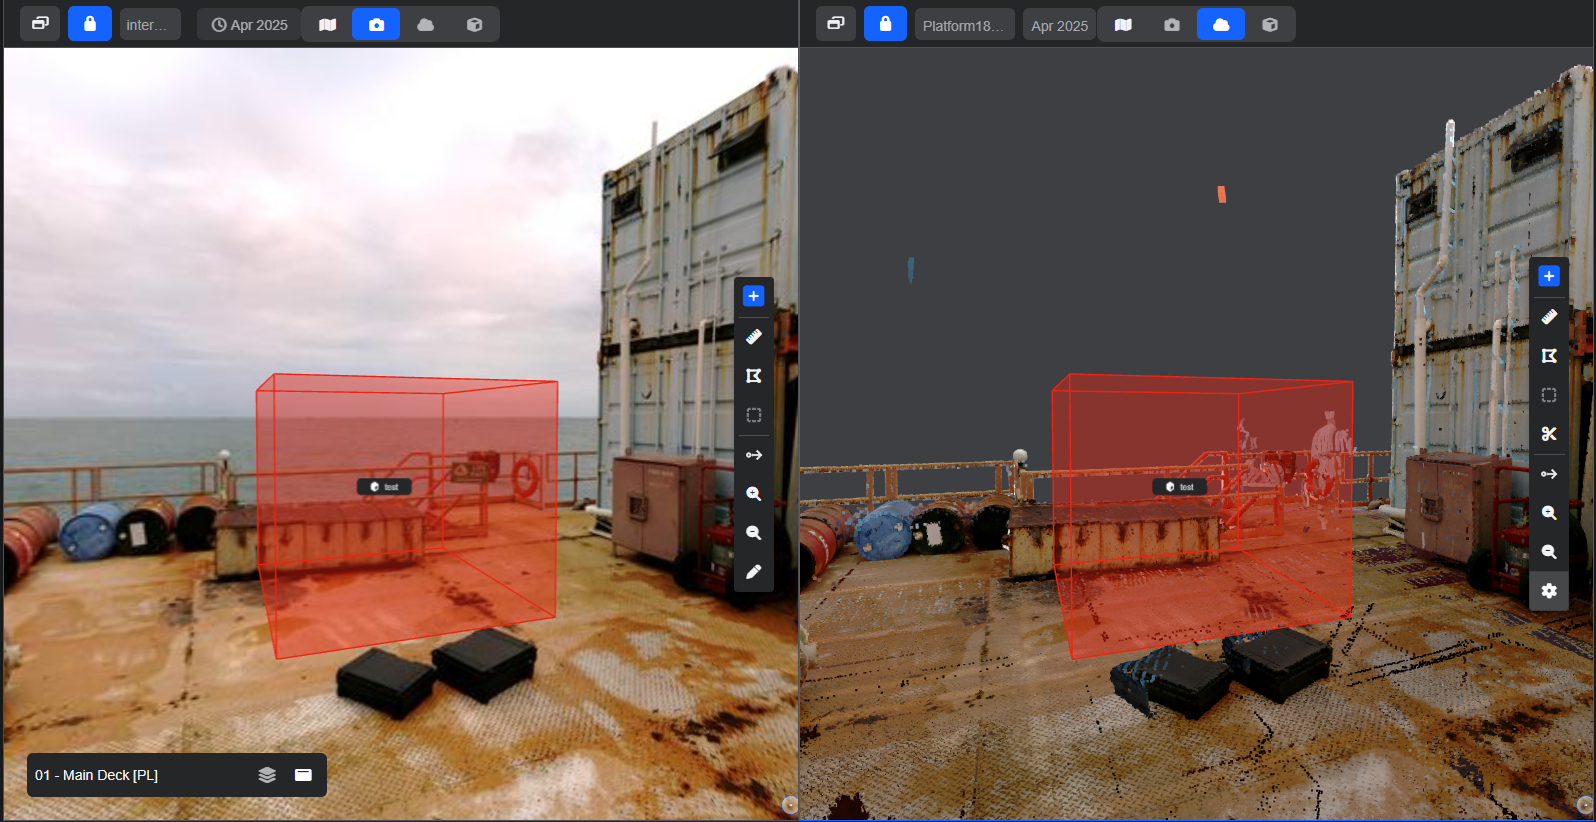
Adding a 3D Markup in 360 or Point Cloud Mode.
- Open the Markup Panel.
- Select '3D - Cube'.
- Click on the viewer window where you want the markup to start.
- Define the width and length by dragging the blue square to the desired size. Click to confirm.
- Select the desired height by moving the mouse in an upward direction. Click to confirm.
- Adjust the rotation, of required.
- Select a colour.
- Choose it's visibilty setting from Private or Public.
- Add a name (required).
- Click Save.
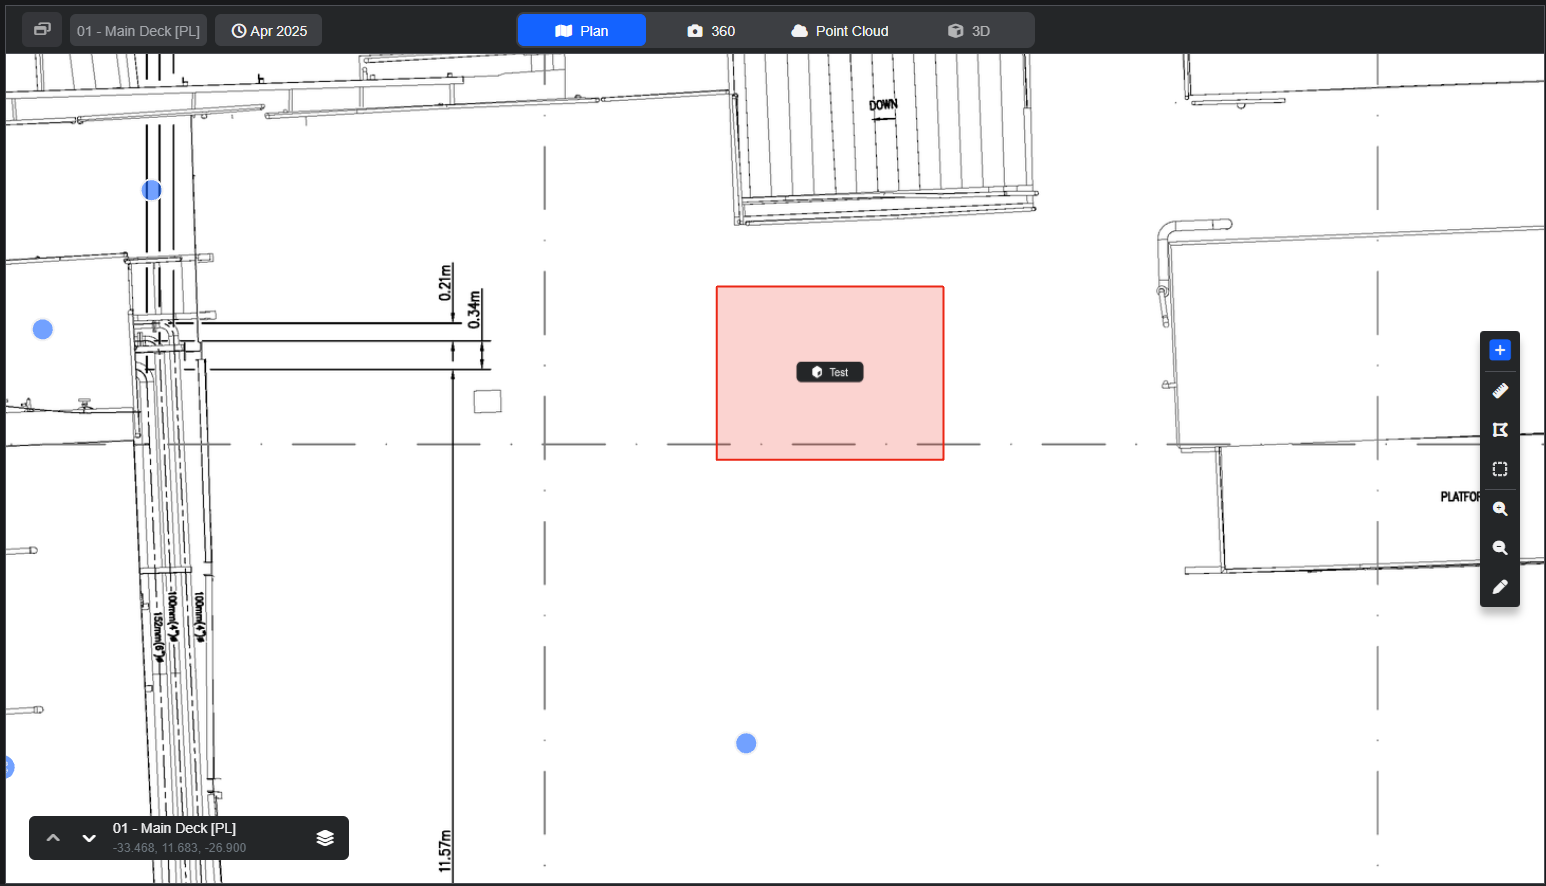
Once saved, the markup will also be shown on the Plan view.
Editing 3D Markups.
To go into edit mode, right-click on the markup and select 'Edit Markup'. Alternatively, open the Markup Panel and select the markup you want to edit from the list.
Plan Mode.
- Move the markup by clicking directly on it and dragging it to a new position.
- Change the size by dragging the end points/edges of the shape or,
- Add new values into the width, length and height boxes.
- Adjust the rotation, if required.
- You can change the colour, name and visibility settings here too.
360/Point Cloud Mode.
When in edit mode, there are a number of options for maniplualting the markup directly in the viewer window.
- Adjust the width, length and height.
- Alter the rotation.
- Move the cube in any of the X,Y or Z axis.
To learn more about annotating in R2S, see the Markups and Measurements guides.
Remember: If you are having trouble using any tool or feature in R2S please contact our support team here.